
Step 1: Identify the device status
-
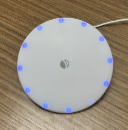
If the device is displaying blue LED lights, it is in access point mode and ready for setup.
Step 2: Connect to the device's Wi-Fi network
-
On your laptop or smartphone, go to Wi-Fi settings and search for available networks
-
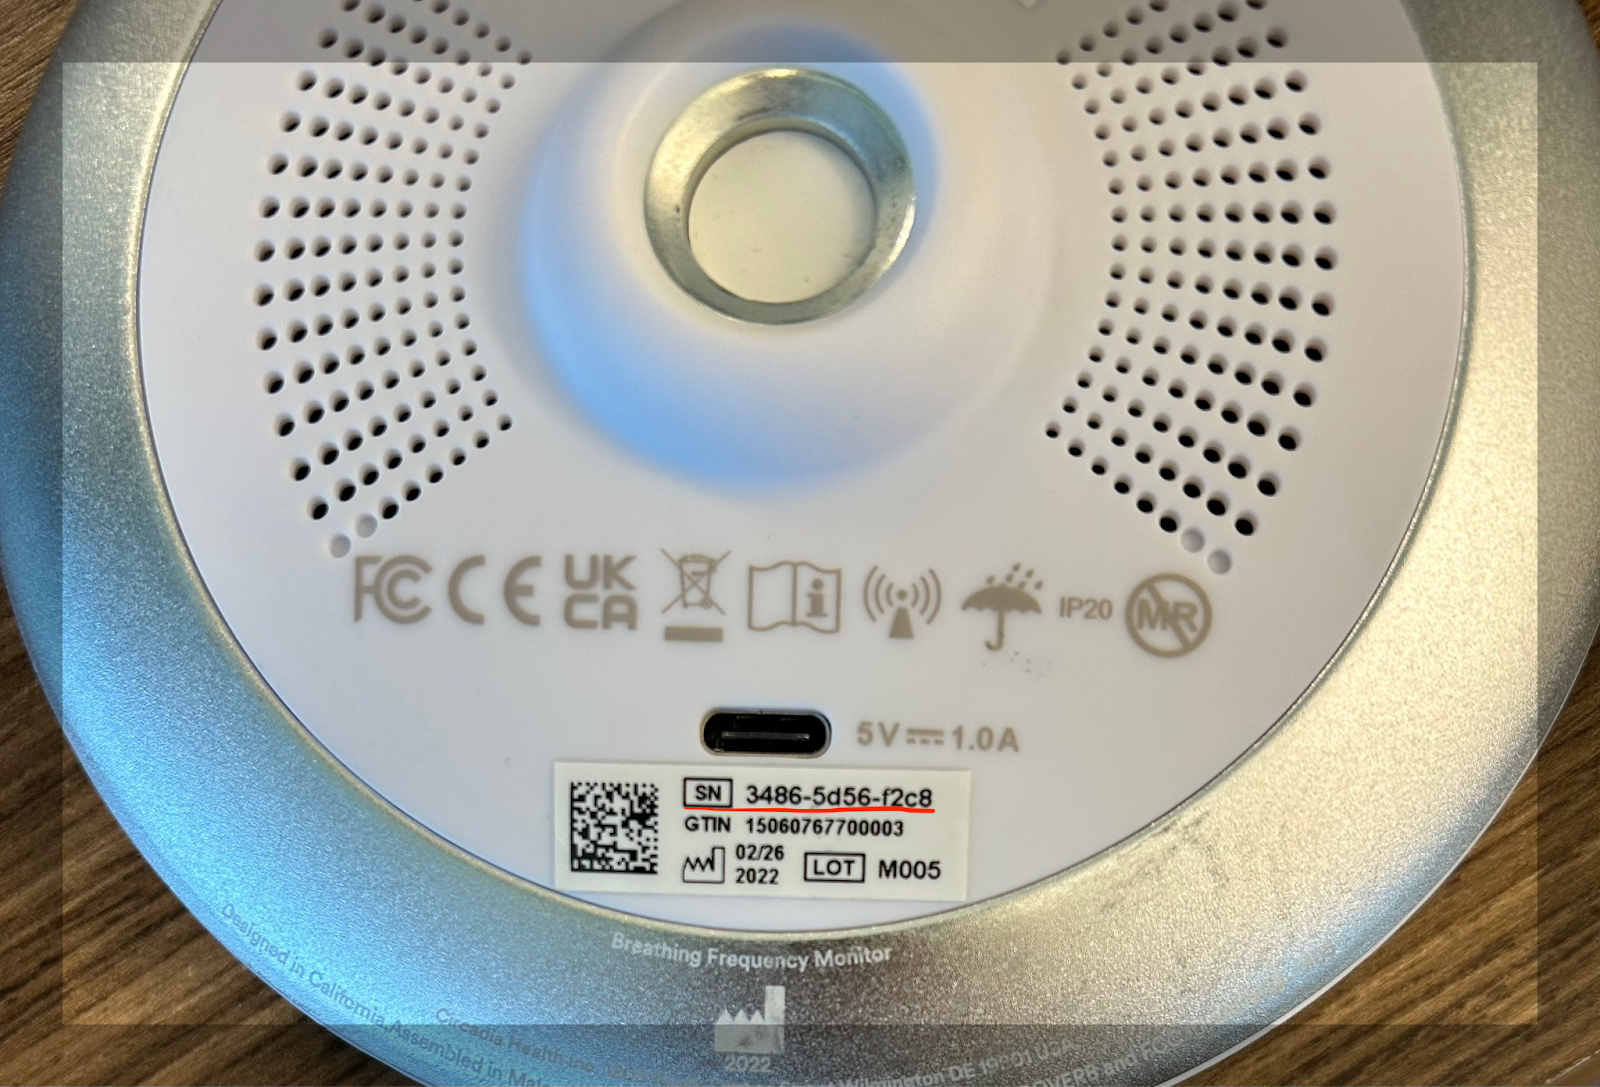
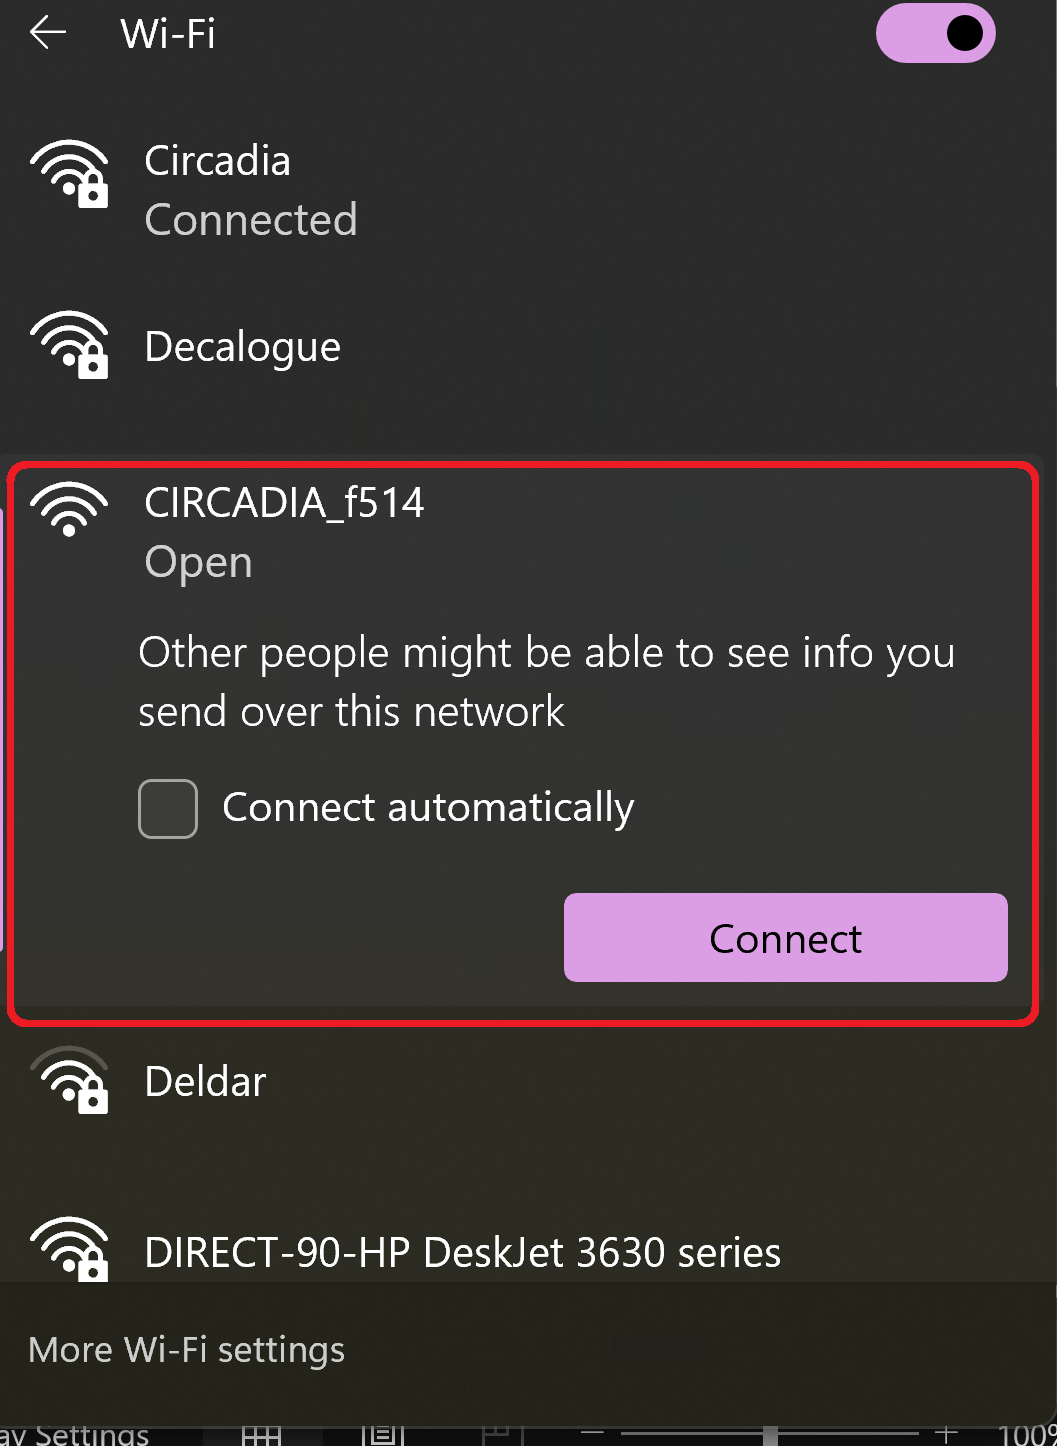
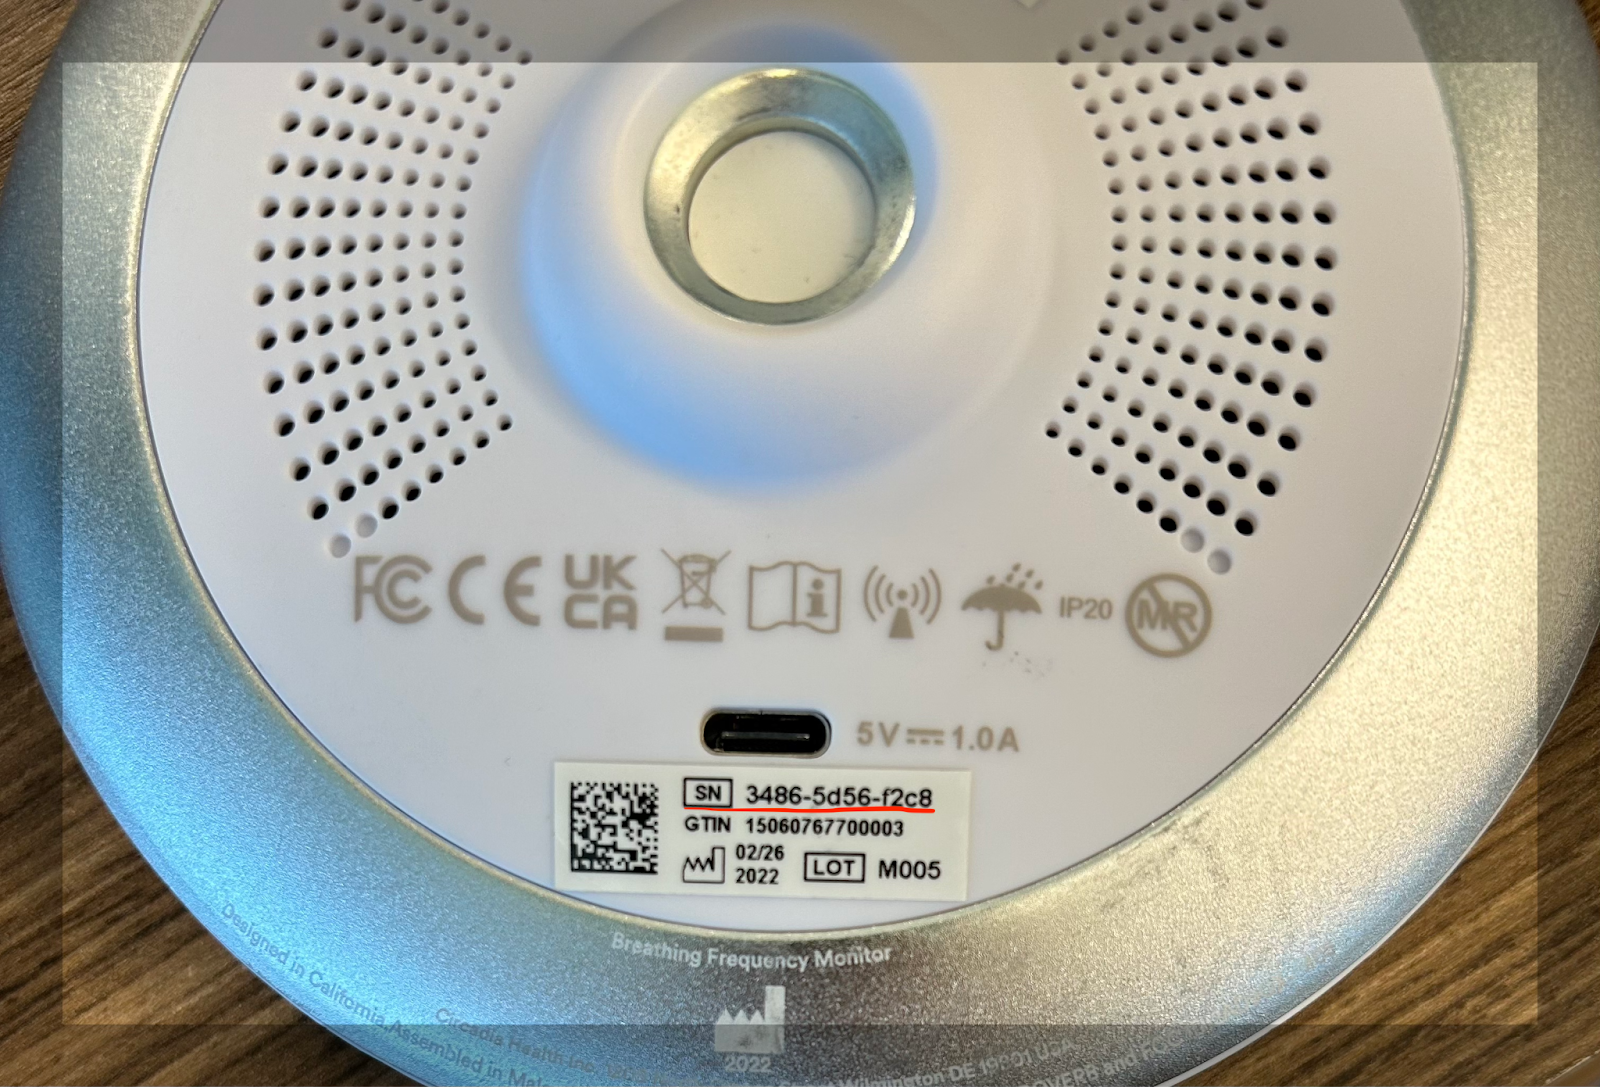
Look for and select the network named Circadia_xxxx (where
xxxx= the last four characters of the device’s serial number)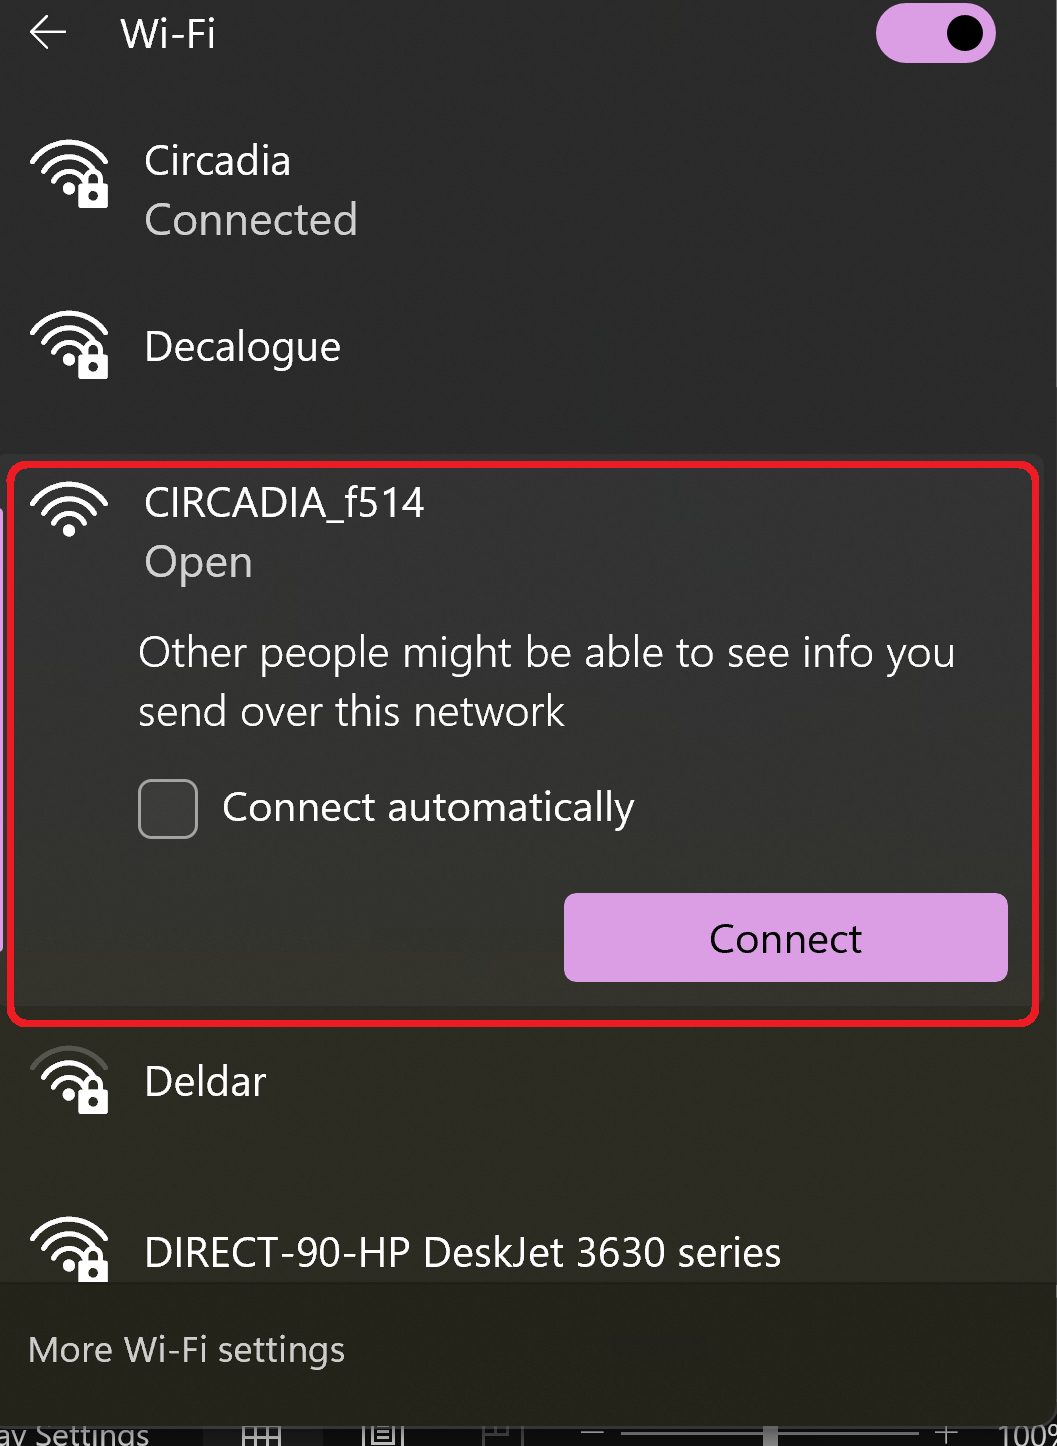
-
If you see a popup stating “no internet,” ignore it and stay connected
Step 3: Open the device setup page
-
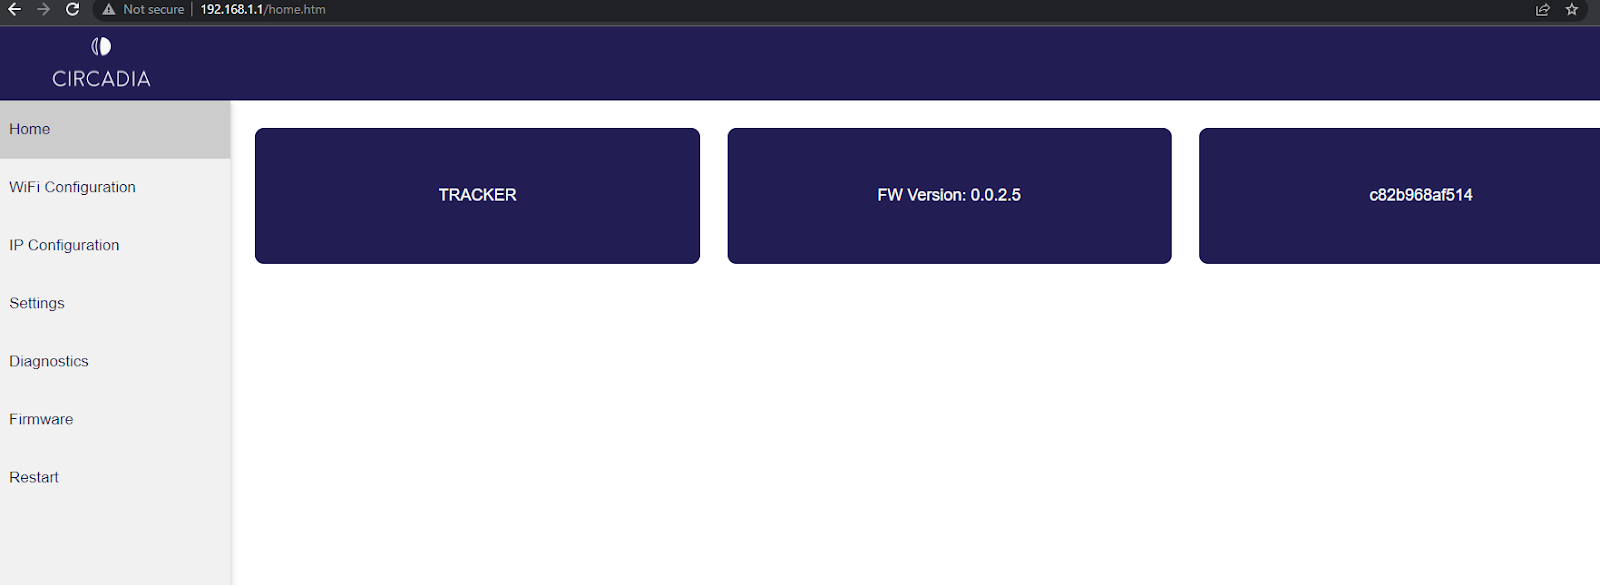
Open a web browser and enter: 192.168.1.1
-
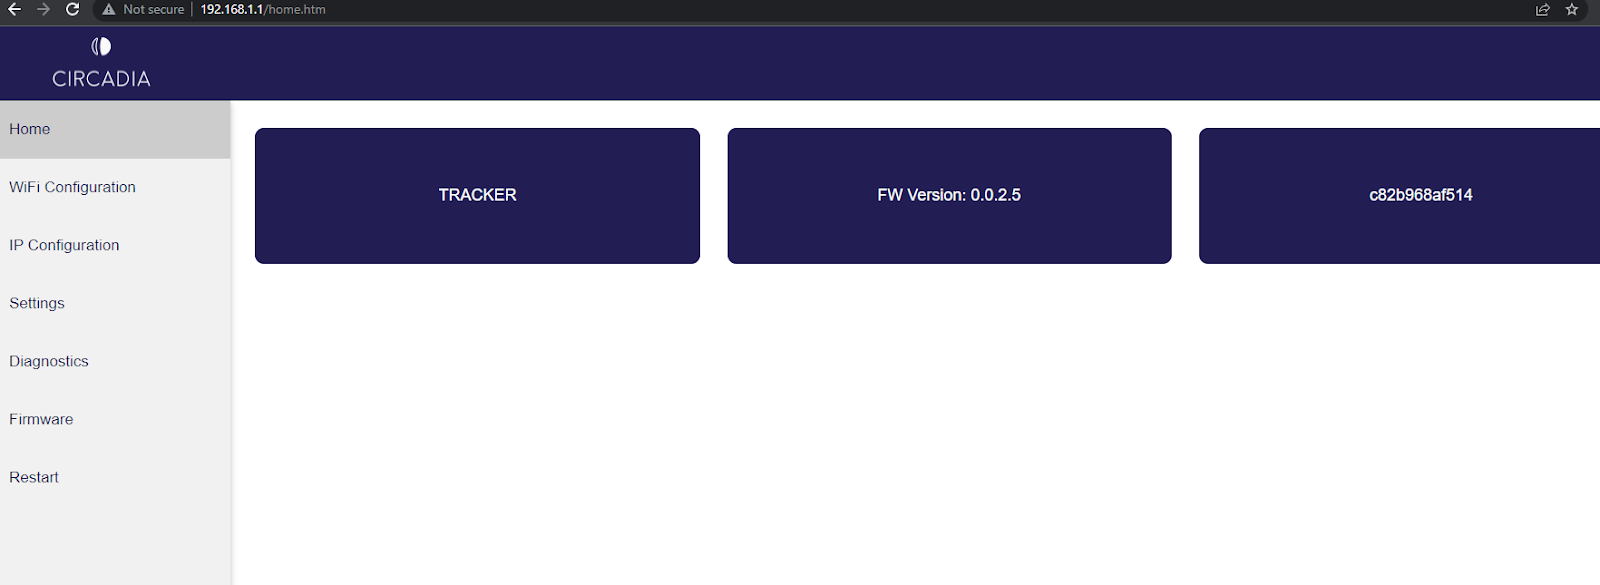
The device setup homepage will load, displaying the firmware version (FW) and device ID
Step 4: Enter Wi-Fi credentials
-
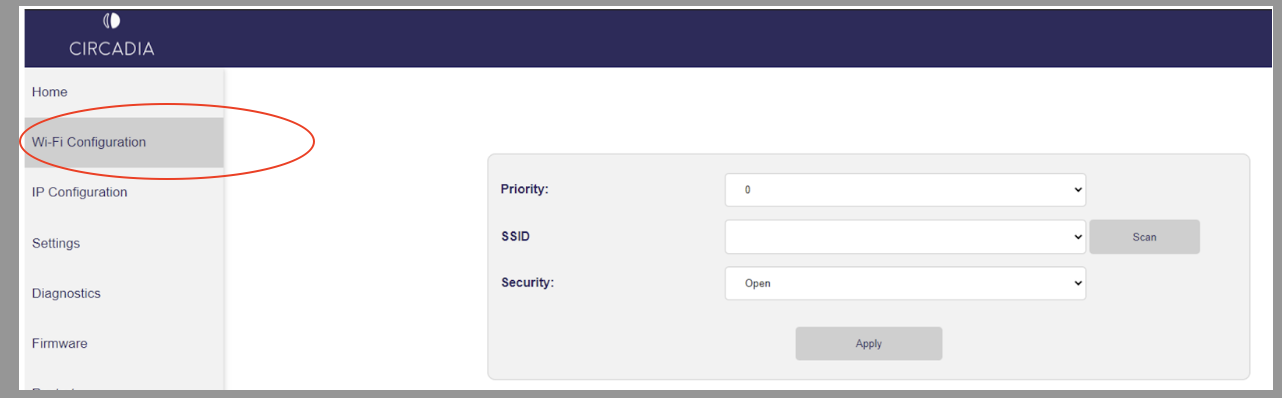
Go to the Wi-Fi Configuration tab.
-
Enter the SSID (network name) and password of your facility’s Wi-Fi
-
Leave the Priority field set to 0
-
Click Apply to apply the settings
Step 5: Restart the device
-
After entering the Wi-Fi credentials, the device will either:
✅ Restart automatically, or
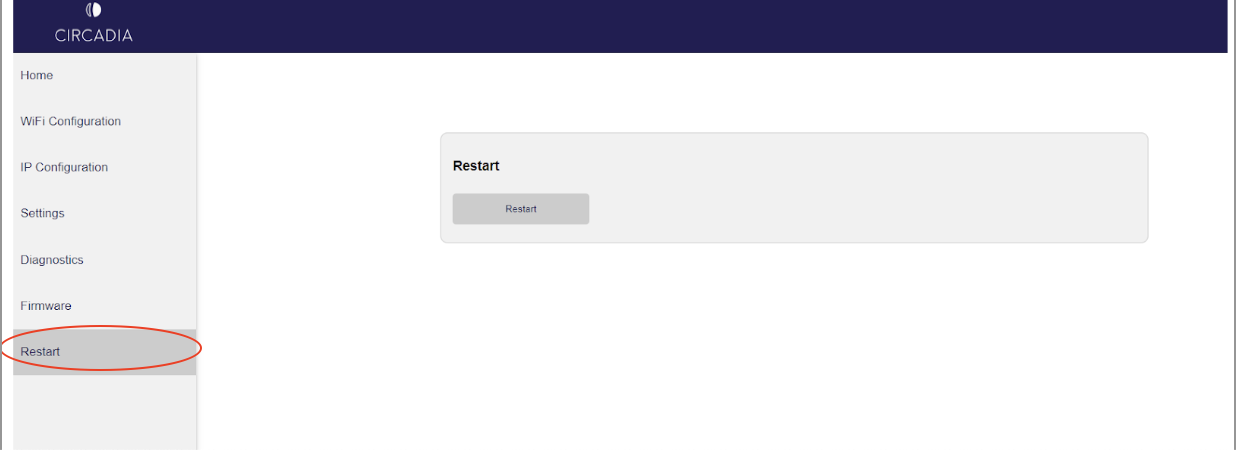
✅ Require a manual restart through the Restart tab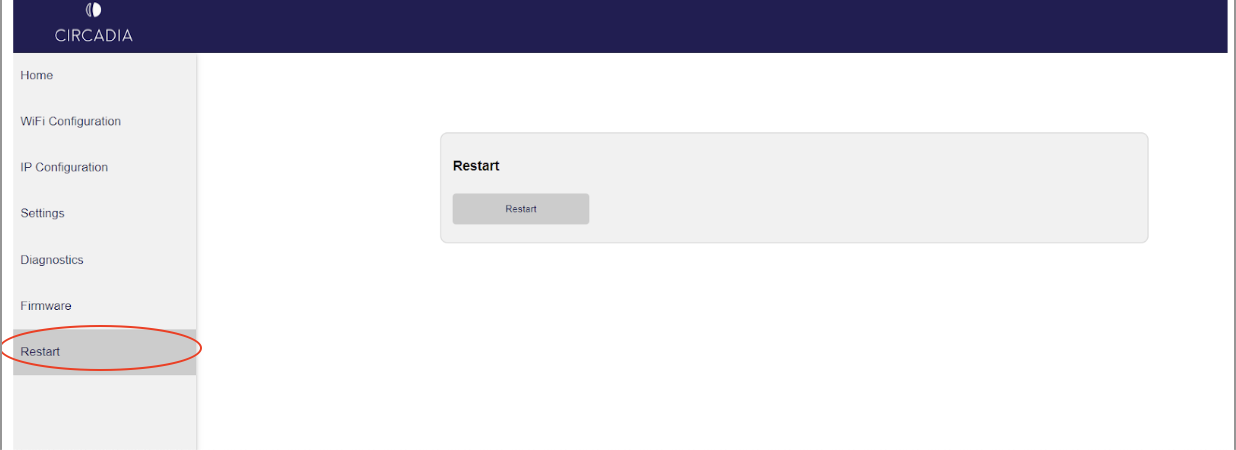
Step 6: Firmware Update Process
If the device is on factory firmware, it will download the latest update:
-
LEDs will slowly glow purple to show progress
-
When the update is complete, the device will restart again
-
After reconnecting, solid green lights confirms successful setup
Need help?
Our team is here to support you. Use the chat feature in the CIP app, or email support@circadia.health.